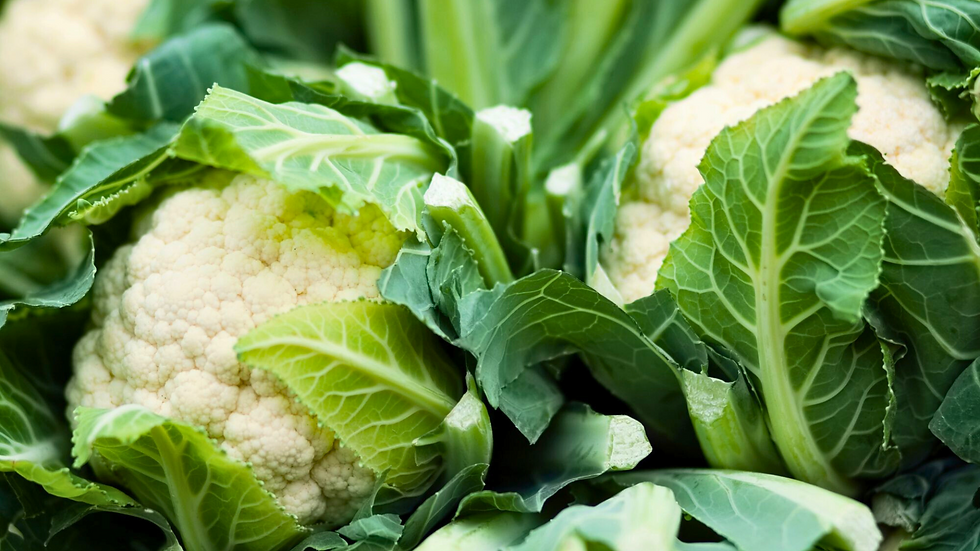
How to Grow Cauliflower
- The Carbon Garden

- Oct 15, 2024
- 3 min read

In this article, we share a comprehensive guide to growing cauliflower at home.
Quick Guide Information
Common Name: Cauliflower
Scientific Name: Brassica oleracea var. botrytis
Family: Brassicaceae
Life Span: Annual
Time Till Harvest: 100-150 days
Light Requirement: Full Sun
Optimum pH: 6.0 - 7.0
Cauliflower is a unique vegetable, highly revered for its flavor and texture. Growing it in the garden is not too difficult and can be a joyous experience. After all, there’s nothing quite the same as a homegrown Cauliflower.
Cauliflower has been cultivated for hundreds of years and is thought to have originated from the island of Cyprus. It was first made popular by Italians and later revered in French gastronomy. While it is not exactly certain, it is believed that Cauliflower was domesticated from ancestors of modern-day Broccoli. For this reason, their cultivation is very similar.
Cauliflower is a crop that thrives in cooler temperatures of spring and fall. It does not take too well to hot summer temperatures which causes it to quickly bolt and become infested with pests. This makes timing crucial when it comes to planting of Cauliflower.
Propagation, Planting and Maintenance
Cauliflower grows best in fertile well-draining soils with full sun. Before planting Cauliflower, it is best to loosen the soil and amend it generously with compost.
You can directly sow Cauliflower in the spring 2-3 weeks before the last frost.
Alternatively, you can give it a head start by starting them indoors up to 6-8 weeks before the last frost. This may be particularly beneficial in areas where seasons tend to switch drastically. You can also plant Cauliflower in the late summer or fall once temperatures drop, about 100 days before the first frost.
Sow seeds 2 cm deep about 8 cm apart. Keep soil moist and in about 2 weeks your seeds should begin to germinate. Once the plants are 8 cm in height you can thin plants, so they are 35 cm apart. Choose the best and most prosperous seedlings and remove any unhealthy plants or those which lack vigor. You can gently transplant any plants as you deem necessary.
Once plants are big enough apply 4-5 cm of mulch. This will help support plant stems and keep the soil temperatures cooler. It will also help retain moisture and reduce the growth of weeds.
Keep beds well-watered and weeded. In about 2-3 months you should notice the stems elongating and the heads starting to develop. After about 100-150 days after planting your heads should be ready to harvest. If you notice any yellow flowers, then you should harvest immediately.
To harvest, simply cut the head directly from the plant. After this initial harvest your plant will likely sprout a couple smaller heads in the following weeks.
Common Problems
Caterpillars - These are the caterpillars of the white moths you will probably see hovering around your plants. You can remove these and their eggs by hand. This is often the best way to control this.
Mildew - This typically occurs from excessive moisture, crowded growth, and too much shade. Make sure your bed is weeded and that you provide plenty of airflow. If necessary, thin your plants.
Lanky Growth - This occurs due to lack of sunlight. You can try cutting back any surrounding vegetation that may be causing shade, otherwise it’s a bit difficult to remedy this once the plant is established.
Early Bolting - This is caused by excessively hot temperatures. Once this has started there is no going back. You can prevent this by planting early and using a thick layer of mulch to keep soil temperatures cool.


Comments